So I am just a little bit obsessed with everything Disney. Aurora's nursery is all Disney (I basically just took all my Disney stuff out of my office and put it in her room!) so I decided to add a nice Bambi portrait using wash tape and my cricut!
If you want to create your own, you'll need a canvas. I just got one out of my craft closet. It was painted pink because I was going to do a project with it, but I never got around to it.
You'll want to start taping the wash tape across the canvas in the direction you want.
I decided to use a different pattern wash tape to put a border on the canvas. I also taped down the washi tape that was hanging off the sides and wrapped wash tape along the sides of the canvas.
I got on Cricut Design Space and chose one of the images I had already uploaded. You can choose whatever character you want.
I decided to go with Bambi.
I put my vinyl on my mat and loaded it into the Cricut so it could do it's thing!
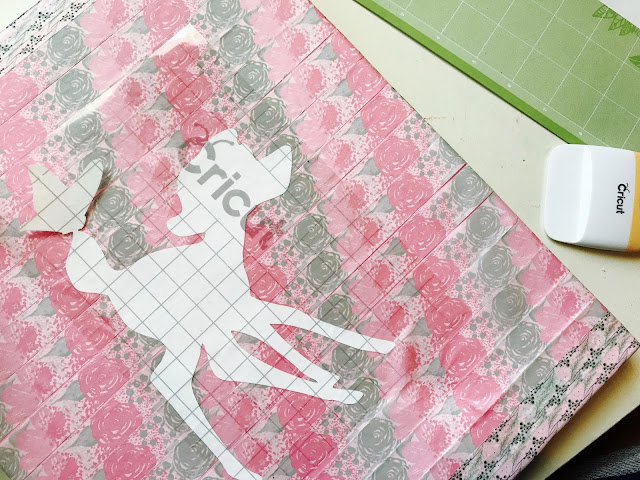
Then I peeled off the excess vinyl and applied the transfer tape.
I used the transfer tape to apply it to my canvas with wash tape. One thing I would recommend doing, that I did't is cutting more of the transfer tape off just to trim it. It will make it easier when removing the transfer tape. You'll have to hold down the wash tape as you pull up the transfer tape so it doesn't come up.
And here is your wall art!! I love it! It looks amazing in Aurora's room.


No comments:
Post a Comment